Submitting a claim for an existing patient
If you haven't submitted on behalf of your patient before or it's been more than 18 months since your last submission, you will need to create a new patient. For more information, see Submitting a claim for a new patient.
There are four steps to creating a claim for an existing patient:
Note: In some cases, an insurer may block eClaims from being submitted electronically. For more information, see Claim blocked by insurer.
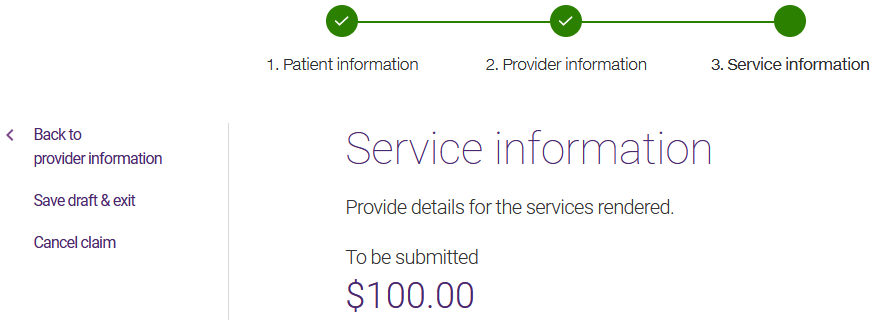
Note: If at any point you want to return to a previous screen, select the appropriate Back link to the left of the screen you are working on rather than using the browser's back button. You may also choose to Save draft & exit or Cancel claim. For example, from the Service information screen, you can go Back to Patient Information.
1. Select the patient
-
From the eClaims application, do one of the following:
-
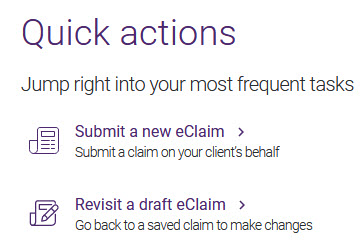
From the TELUS Health services page, select Submit a new eClaim.
-
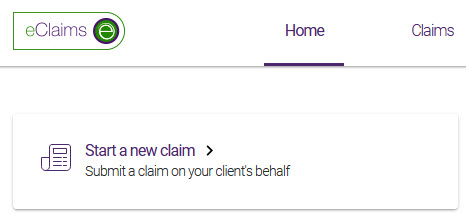
From the eClaims home page, select Start a new claim.
-
Or, select the Claims tab, then select New claim.

The Patient information page is displayed.

-
-
In the Search for an existing patient section, enter at least two characters of the patient's First name or Last name, then select Search for a patient.
If you get too many search results, refine your search by entering the full patient name.
The matching patients are displayed.
-
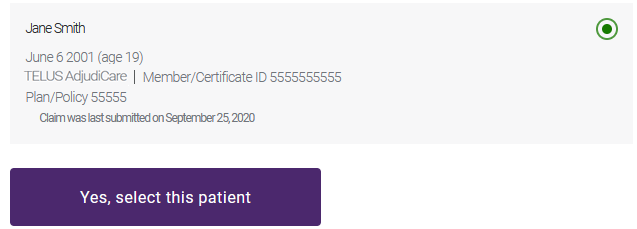
Select a patient.
-
Select Yes, select this patient.
The Patient information page is displayed.

-
Verify the information of the patient you selected.
If you need to change it, select the applicable Update link, then make the applicable changes and select Update.
2. Select the provider
-
Select Continue to provider information.
The Provider information page is displayed.

-
If your organization has registered with TELUS to provide services from multiple locations, select the Service location.
To filter the list of service locations, enter the first few characters of the address.
-
Select the Service Provider.
To filter the list of service providers, enter the first few characters of the provider's name.
Note: From this point onward, if you are not ready to submit the claim, you can select the Save draft & exit link to save the claim as a draft. Drafts are available for 30 days. For information on resuming work on a draft claim, see Continuing a draft claim.
3. Select a previously submitted service or enter the service information
-
Select Continue to service information.
The Service information page is displayed.
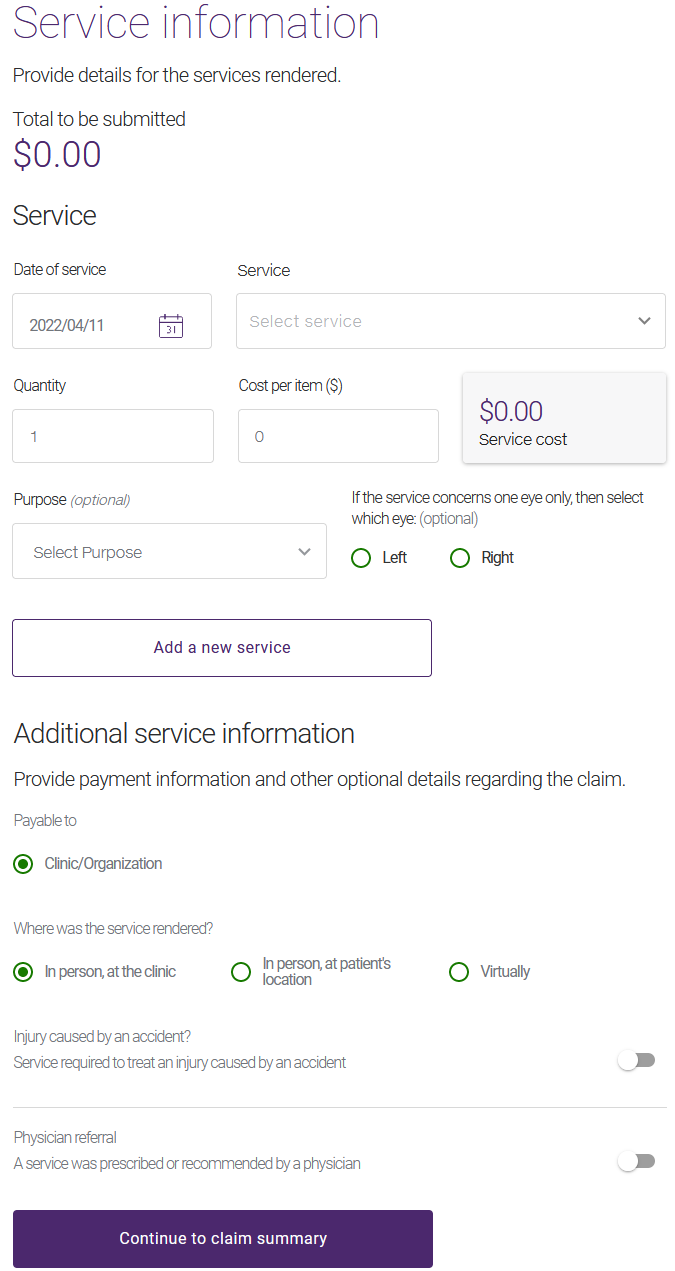
Note: The appearance of the Service information window varies depending on the provider type. For example, for time-based services, a Duration field is present. For optometry services, Purpose and eye fields are present.
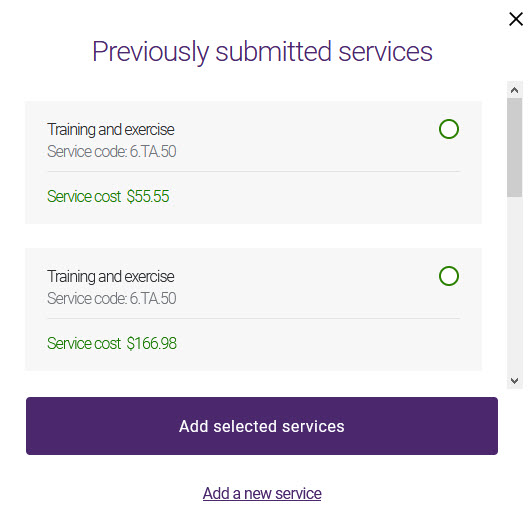
The Previously submitted services pop-up is displayed. It displays up to five different services that were previously submitted for this patient.
-
Optionally select one of more of the previous claimed services, and then select Add selected services.
The services you selected are added to the claim.
-
To add new services:
-
Select the Date of service, if it differs from the current date.
-
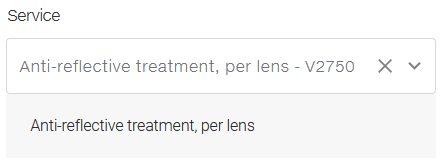
Select the Service.
The selected service and service code are displayed beneath the Service drop-down list.
-
If the service is not time-based, change the Quantity value to a number larger than one.
This reflects the number of times the service code is being claimed on that date. For example, if the service represents a treatment, enter the number of treatments received on the date specified; if the service code represents X-rays, enter the number of films (or views) being claimed; if lenses are claimed, enter the number of lenses being claimed. For vision claims, the quantity should also reflect the number of times the service code is being claimed on that date.
If the Quantity is set to ‘1’, the services performed are time-based. Enter a value in the Duration field, in the next step.
-
In the Duration field, optionally enter the number of minutes that the visit took, when available.
-
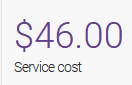
Enter the Cost per item.
The Service cost is updated. If a Quantity was entered, this value will represent the quantity multiplied by the Cost per item.
-
Optionally select the Purpose.
The insurance company may need to use this information to verify if the service is covered. The possible values are:
-
Initial prescription: the service is due to an initial vision care prescription.
-
Changed prescription: the service is due to a change in the prescription.
-
Lost or broken: the service was the result of a lost or broken item such as glasses.
-
Refill prescription: the service was the result of refilling a prescription.
-
Other: use this value if the purpose or reason for the service is not listed.
-
-
If a vision care service affects one eye only, select either Left or Right. If it applies to both eyes, then select neither of them.
-
-
To add one or more additional services, select Add Service, then repeat the previous step.
-
If the claim should not be Payable to the Servicing Provider or Clinic/Organization, select Insured Member.
The Servicing Provider value represents the provider who rendered the service and Clinic/Organization value represents the clinic or organization the provider works for. These values depend on your provider type; they are never available at the same time.
-
If the service was not rendered In person, at the clinic, select either In person, at patient's location or Virtually.
-
If the patient's injury was caused by an accident:
-
Drag the Injury caused by an accident slider to the right.
Two additional fields are displayed:
-
Select the applicable Accident Type: Motor vehicle, Workspace, or Other.
-
Select the Date of Accident.
-
-
If the service was provided as a result of a prescription or referral by a physician:
-
Drag the Physician referral slider to the right.
Up to four additional fields are displayed, depending on the insurer you selected:
-
Select the Prescriber type.
-
Enter the Physician first name and Physician last name.
-
If you selected AGA Financial Group inc., Beneva Inc., Canada Life, Canada Life - PSHCP, Desjardins Insurance, or UV Insurance as an insurer, optionally select the Referral date. This field is hidden for other insurers.
-
-
-
If the claim is for physiotherapy services, the Is provincial insurance exhausted? question is displayed. Depending on the provincial government healthcare plan of the province where the patient is covered, it may be necessary for you to indicate if the coverage by the provincial healthcare plan has been fully exhausted. If this is the case, drag the Is provincial insurance exhausted? slider to the right.
In certain provinces, it is not permitted to submit healthcare expenses covered by the provincial plan to a private healthcare insurance company until the provincial coverage has been fully exhausted.
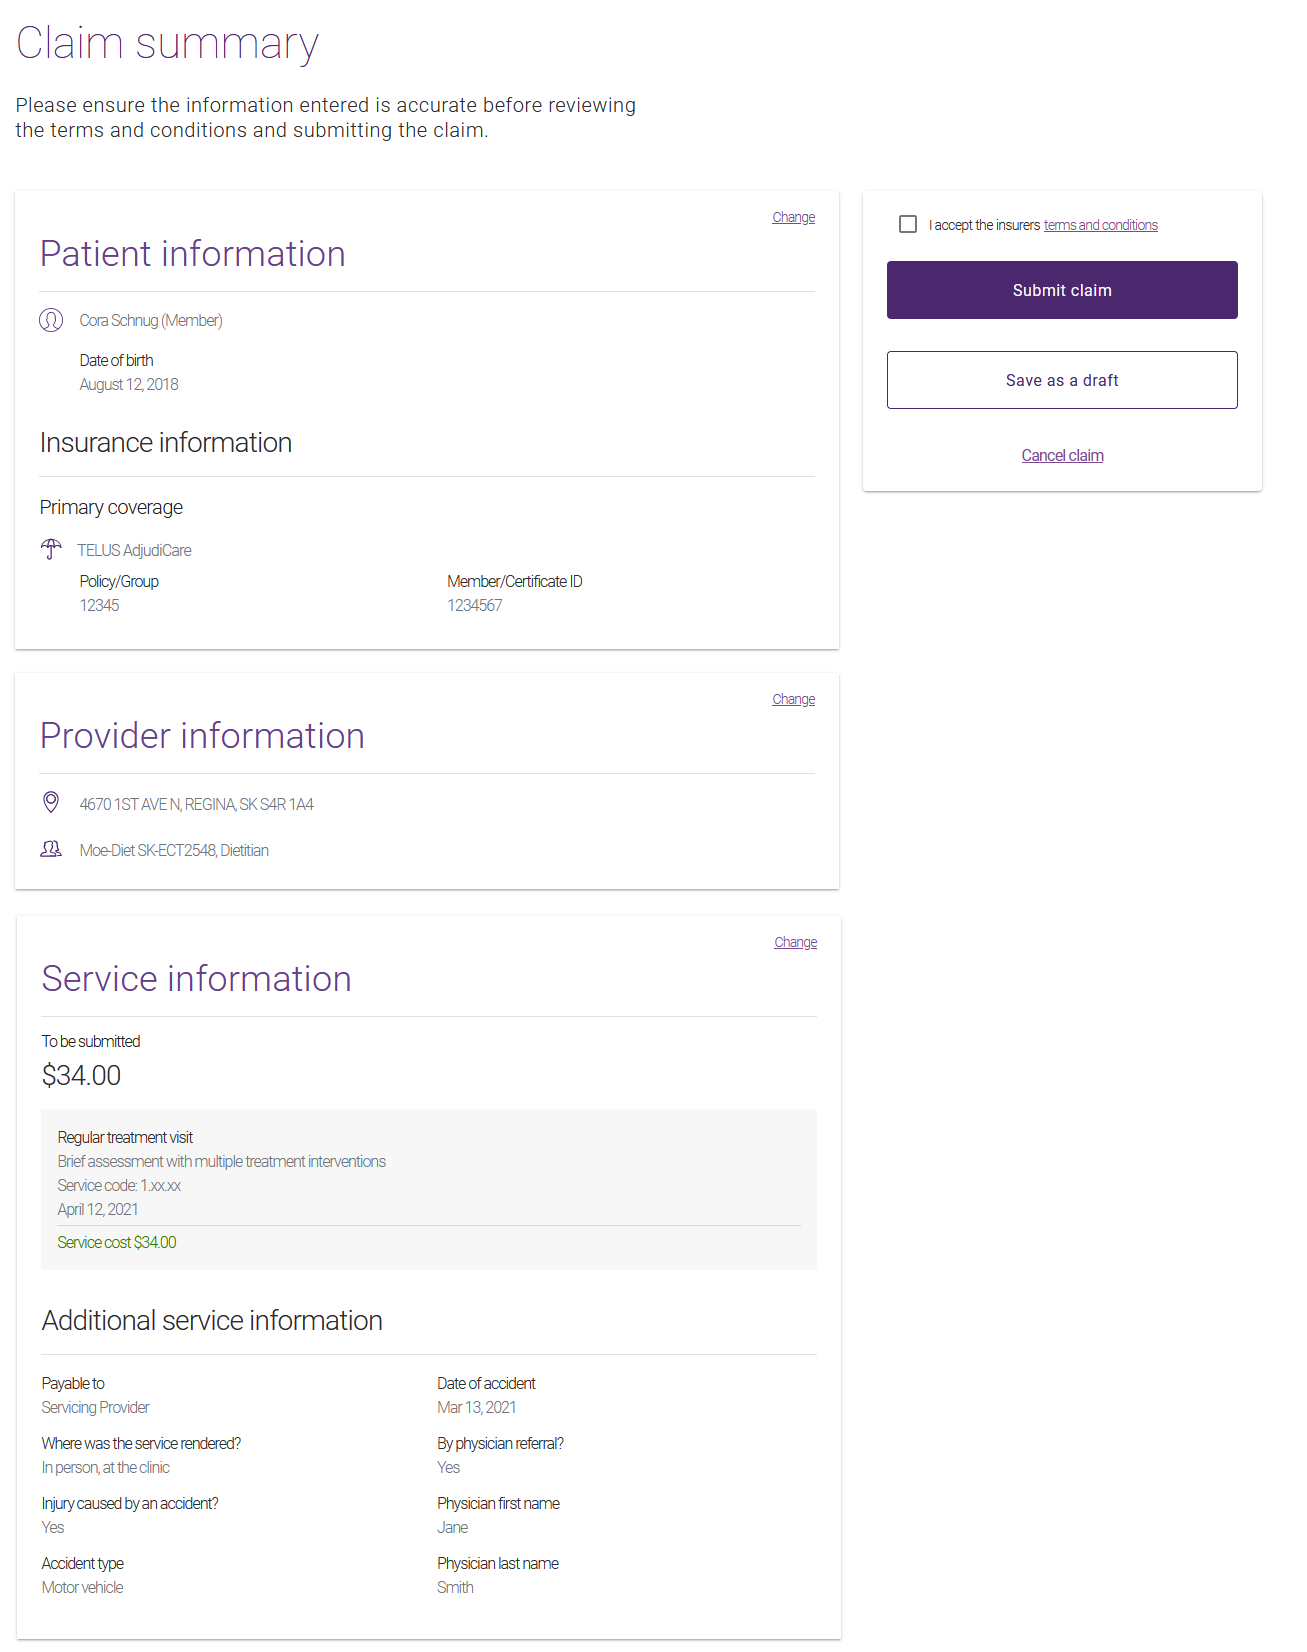
4. Verify and submit the claim
-
Select Continue to Claim summary.
The Claim Summary page is displayed.
-
Verify the information you entered.
If you need to change it, select the applicable Change link, then make the applicable changes and select Update.
-
Select the terms and conditions link to display these in a pop-up.
The terms and conditions are specific to each insurer.

-
To accept the terms and conditions, select the I accept button on the pop-up or select the checkbox on the Claim summary.
-
Select Submit claim.
A claim processing message is displayed.

A response is returned. If the claim was successfully processed, the Claim accepted response is displayed.
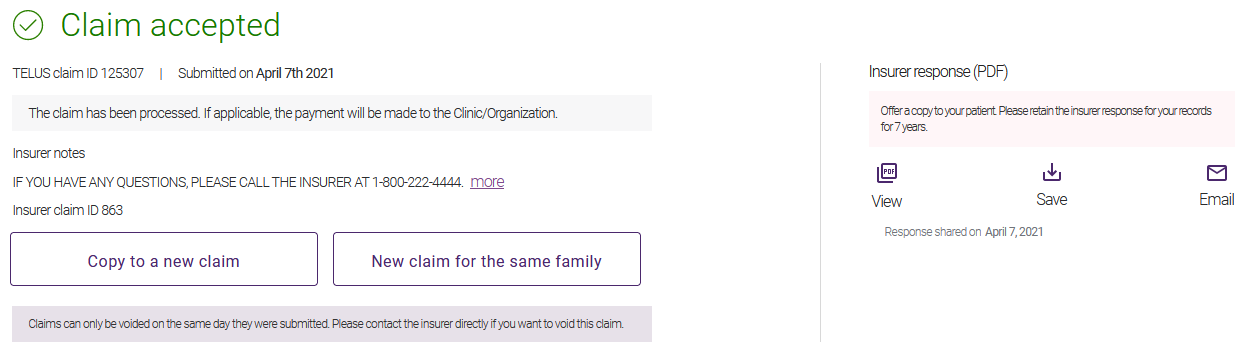
For information on responses, see Viewing, printing, saving, and emailing responses.
