Adding an independent practice location
You must add at least one location when you set up an independent practice.
Your request to add an independent location is sent as a request to TELUS Health to review and action.
-
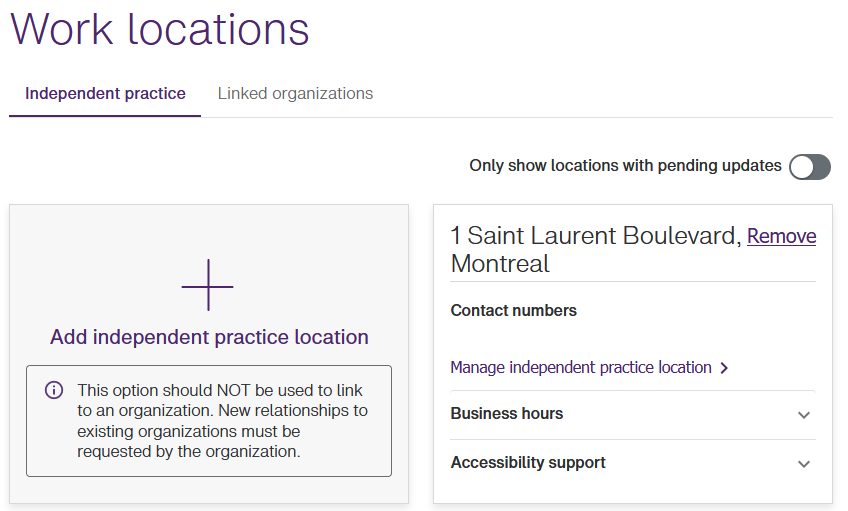
From the Provider Portal, select the Menu
 button, then select Work locations.
The Work locations window is displayed, with the Independent practice tab selected.
-
Select Add independent practice location.
The appearance of this window varies according to your provider type, and the services and roles you are registered for.

-
Select the Edit
 button to the right of the Address section.
The Change of address dialog box is displayed.

-
Select one of the options.
-
If you selected Yes, I moved, select the Add new address button that is displayed, then complete the rest of this procedure.
-
If you selected No, I need to fix a mistake, select OK, then complete the rest of this procedure, except instead of adding information to a new address, you will be changing information related to an existing address.
-
If you are registered for both WSIB and eClaims services, two check boxes are displayed. Select one or both services.
-
Enter the Address line 1 and optionally enter the P.O. Box.
-
Optionally change the Country.
This field is enabled if you selected the WSIB service only.
If you select any country other than Canada, the following changes are made:
-
The P.O. Box is disabled.
-
The Province field is renamed Province/State/Region, and its options are updated to reflect the selected country.
-
The Postal code field is renamed Postal/ZIP code.
-
-
Select the Province, or Province/State/Region.
Note: If none of your roles are supported in the province you select (even if you only have one role), an error is displayed when you try to save the location. You will need to re-register or call TELUS Health support to add a new province and role combination.
-
Enter the City/Town.
-
Enter the Postal code or Postal/ZIP code.
-
In the Contact numbers section, enter at least one Contact number and optional Ext (extension), and select the Type.
The read-only country code is derived from the country you selected above.
Tip: To add second and subsequent contact numbers, select Add a contact number.
Tip: To delete a contact number, select the Delete
 button to the right of the number. This button is displayed when more than one contact number is displayed. Each address must have at least one associated contact number.
 -
In the Roles section (if it is displayed), deselect any roles that you do not have at the address you are adding.
At least one role must be selected. By default, all roles are selected.
If the address is Canadian and a particular role is not supported in the selected province by one of the services you selected, the role is deselected and disabled, and a message is displayed explaining why.
-
A License for (role) section is added for each of the roles you selected in the previous step.
Select the License issuer, enter the License number, and select the License date.
-
In the Business hours section, select Open and Close times for each day your independent practice is open.
If you provide one time slot, you must provide both.
-
In the Accessibility support section, for each of the categories, such as Parking or Exterior Space, select the Expand
 button to the right of the category to display its features, then select the check boxes that apply.
 -
Select Save changes.
The address is validated. If it is accepted as is, the Work Locations window is displayed again.
If the address cannot be validated as entered, the Unable to validate address dialog box is displayed:

Select Edit to close the dialog box and update the address.