Setting up eClaims with your practice management software solution
You can integrate eClaims with your practice management software (PMS) to submit claims through your PMS. To do this, you will need to provide account information to your PMS vendor. Contact your vendor to learn about their process for transferring the information.
Your account information is in the eClaims portal; you will need user administrator and EFT permissions to access it. If you do not have these permissions, contact your account administrator to have them added. The information you will require depends on whether you are an independent provider or represent an organization.
If any of your account information is out of date, you should update it prior to continuing. To do so, select the Menu  button, then select Business profile.
Tip: As you gather your information, you can optionally complete this form with your account information to have it handy in the future.
If you are an independent healthcare professional, you will need...
-
Your username - the alpha-numeric username you use to log into the portal.
-
Your password - the password that you use to log into the portal.
Tip: If you need assistance retrieving your username or password, navigate to the eClaims portal login page and select Forgot username or Forgot password.
-
Your first and last name - these must match your name displayed in the portal, which in turn matches the name that you registered with your college or association.
-
Your TELUS Provider ID
-
Your provider role
-
Your license information - including your license number and the name of the license issuer.
Tip: If you have more than one role, be sure to note the role and license information for every role.
-
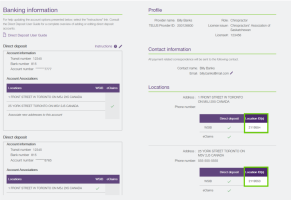
Your location ID(s) - you will need to provide the IDs of all of your locations.
Locating your information in the Provider Portal
-
To view the first and last name we have on file for you, and your TELUS Provider ID, select the Menu
 button.
 -
To view your role and license information, select the Menu
 button, then select Roles and licenses.
 -
To view the location ID we have on file for you, select the Menu
 button, then select Work locations. Your Location ID is displayed beneath the street address for each of your locations.
Ensure you use the information in the above fields exactly as they are displayed, including any leading zeroes, hyphens or other characters.
If you represent an organization, you will need...
-
Your username - the alphanumeric username you use to log into the portal.
-
Your password - the password that you use to log into the portal.
Tip: If you need assistance retrieving your username or password, navigate to the eClaims portal login page and select Forgot usernameor Forgot password.
-
Your first name and last name - these must match exactly with the name displayed in the portal.
-
Your organization's name
-
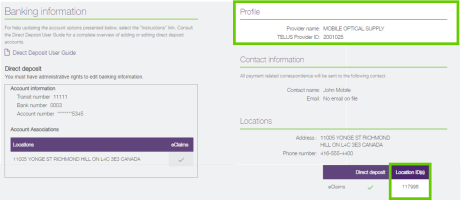
Your TELUS Provider ID
-
Your Location ID
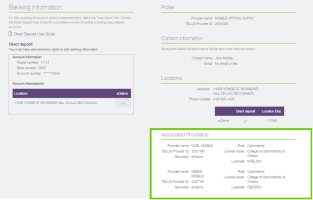
You will also need the following information for each of your associated providers:
-
Their name - these must match the provider name displayed in the portal, which in turn matches the name that was registered with the provider's college or association.
-
Their role
-
Their license information- including their license number and the name of the license issuer.
Tip: If a provider has more than one role, be sure to note the role and license information for every role.
-
Their TELUS Provider ID
Locating your information in the Provider Portal
-
Select the My Account
 button, then select User access and permissions.
 -
Use the filter to find yourself in the list. Your first and last name will be displayed in the filter results.
-
To view the organization name we have on file for you, and your TELUS Provider ID, select the Menu
 button.
 -
To view the location ID we have on file for you, select the Menu
 button, then select Business profile. Your Location ID is displayed beneath the Service address heading.
-
To view the providers' information, select the Menu
 button, then select Providers.
Ensure you use the information in the above fields exactly as they are displayed, including any leading zeroes, hyphens or other characters.


