Adding a bank account using the Plaid app
You can use the Plaid app to link your bank account to your Provider portal profile so that you can be paid via direct deposit. You will need to have your banking credentials on hand.
-
From the Provider Portal, select the Menu
 button, then select Banking information.
The Banking information window is displayed. Its appearance and functionality depend upon three things:
-
whether you are a provider or a representative of a clinic,
-
the number of TELUS Health services you are registered for, and
-
whether you have already set up a bank account.
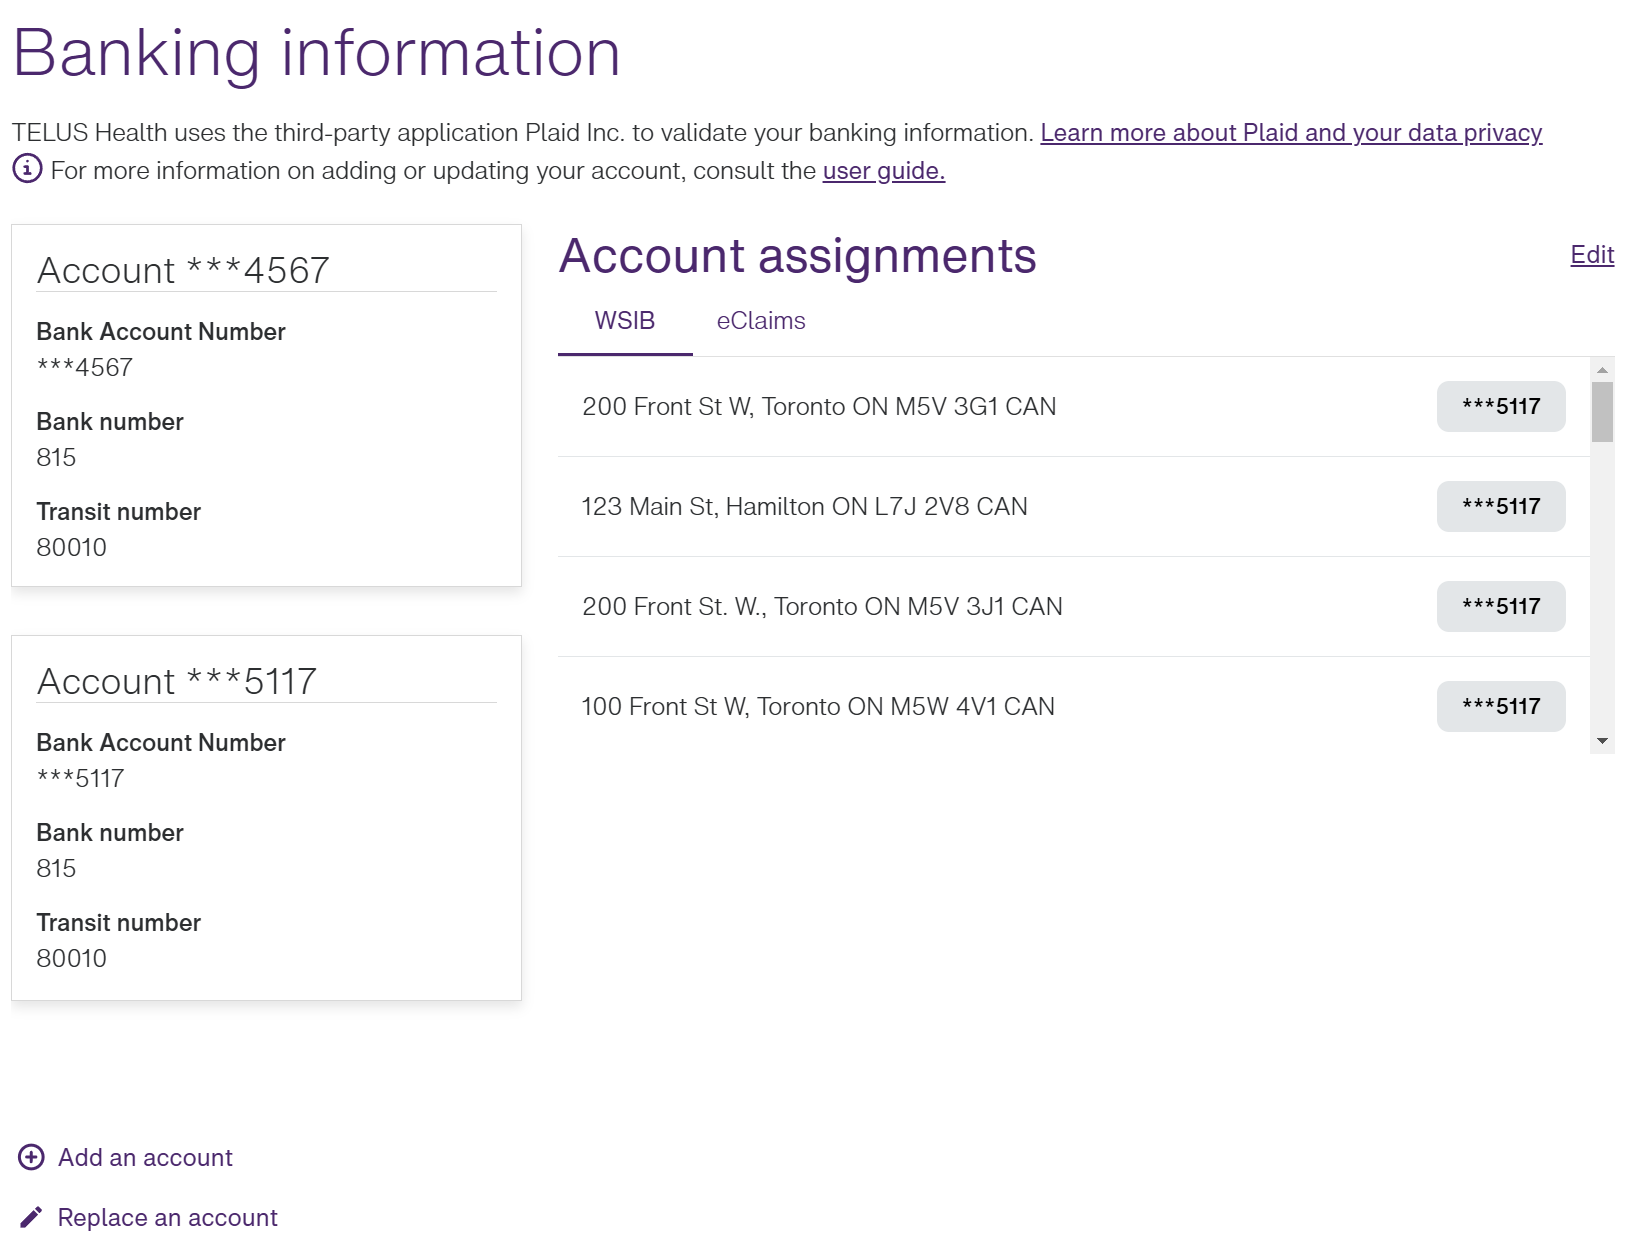
The following image illustrates the banking information for a provider who is registered to provide both eClaims and WSIB services. This provider has already set up two bank accounts, one of which is used for WSIB and the other which is used for eClaims.
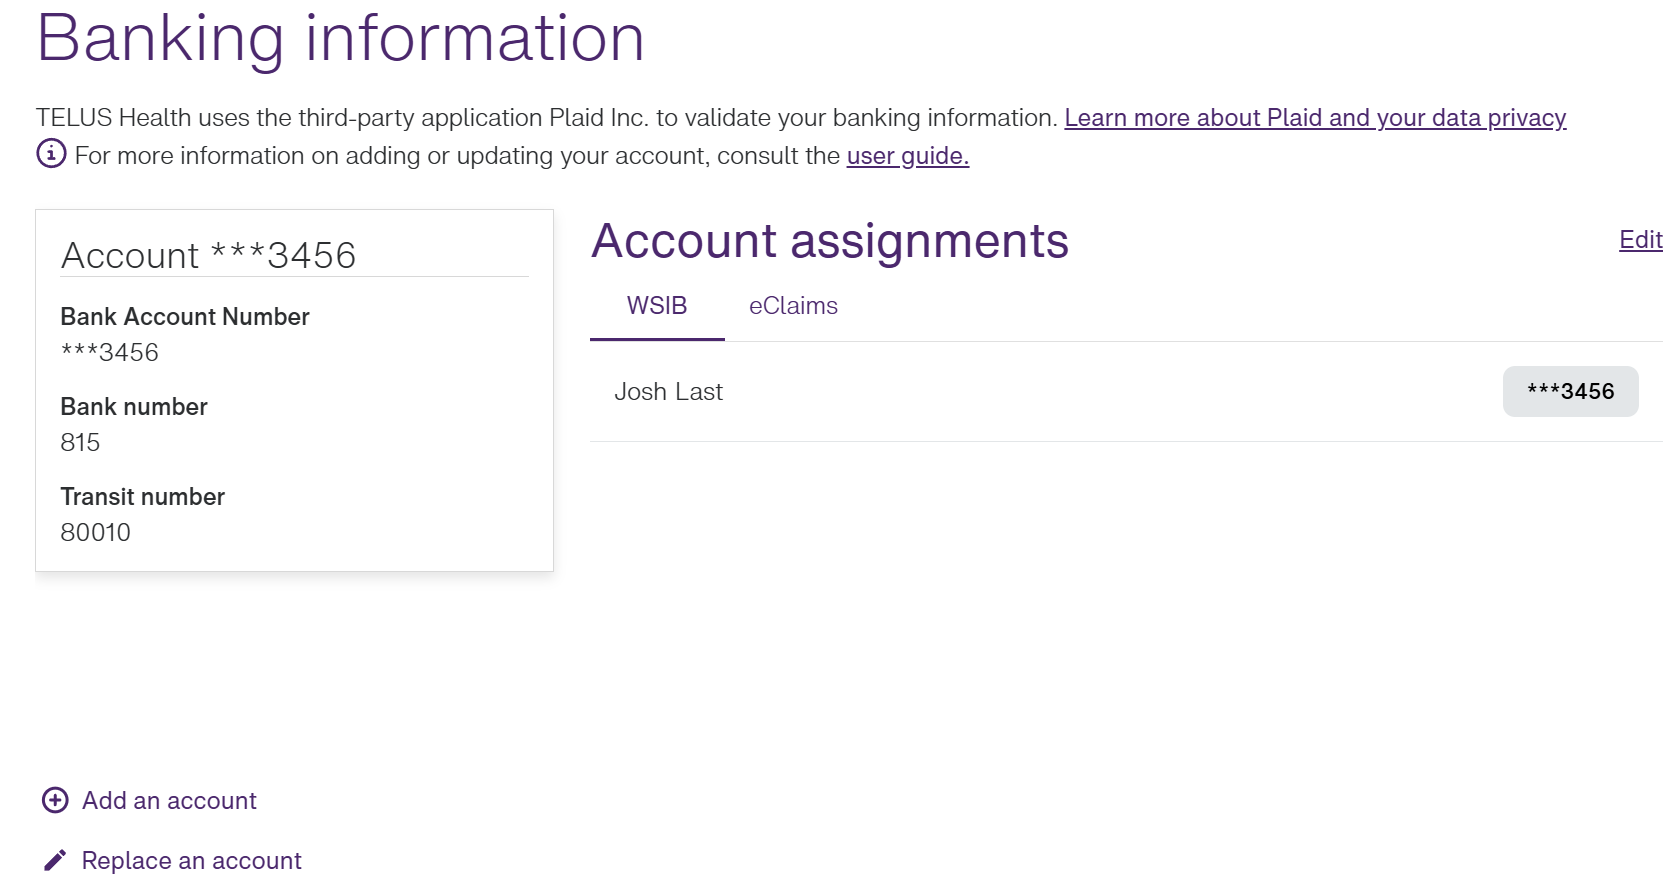
The following image illustrates the banking information for a clinic that is registered to provide both the eClaims and WSIB services. This clinic has already set up a bank account, which is used for WSIB and eClaims.
-
-
Do one of the following:
-
If you do not yet have an account set up, select Add Account.
-
If you have already set up one or more accounts, but you are registered for multiple TELUS Health services and you want to use different accounts for some of them, you can select Add Account, if it is displayed. If it is not displayed, you have already added the maximum number of accounts, so you will need to replace one of them.
All eClaims locations must use the same bank account, as must all providers, but you can use a different bank account for each TELUS Health service and each WSIB location.
-
If you have one or more accounts set up, and want to replace one of them, select Replace Account.
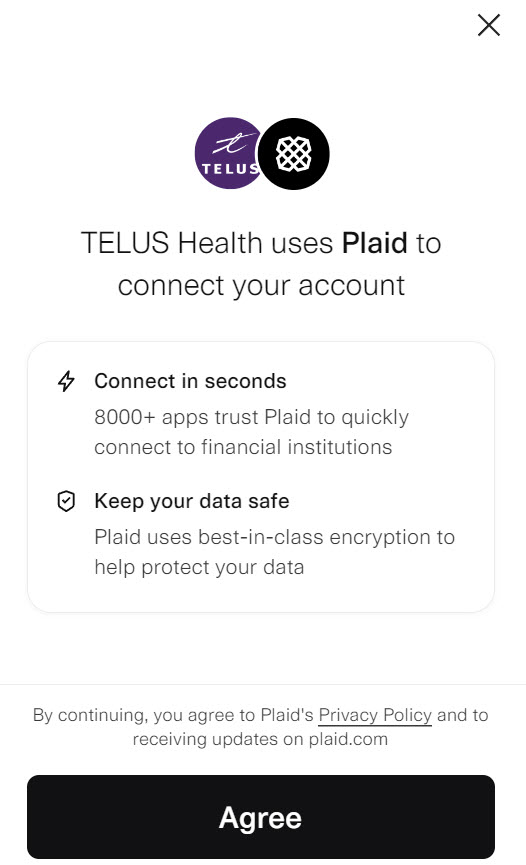
The following pop-up is displayed, advising you that TELUS Health uses the Plaid application to connect your account.
-
-
To review Plaid's privacy policy, select the Privacy Policy link at the bottom of the pop-up.
-
Select Agree.
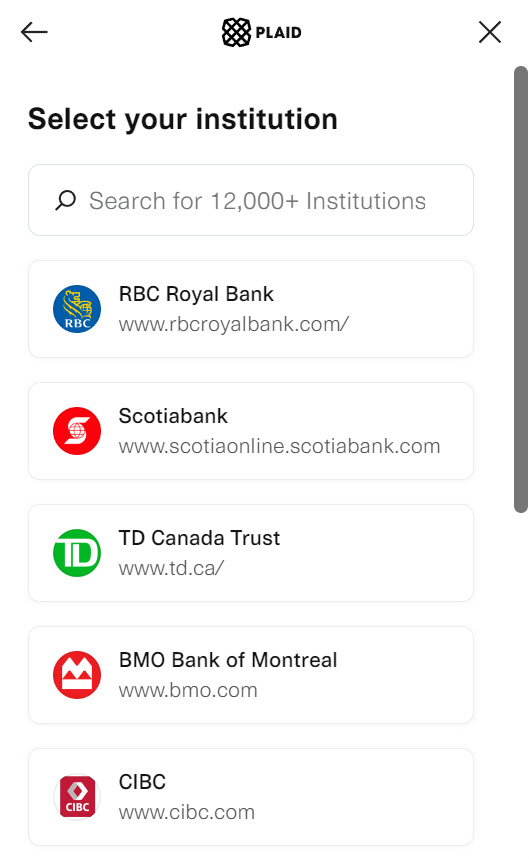
The Select your institution screen is displayed.
-
Use the scroll bar or search to locate your banking institution, then select it.
If your institution is not found, you are asked whether you want to exit Plaid. You can then associate your account using the alternate method described in Adding a bank account by uploading a financial document.
If your institution is found, the login screen for the selected institution is displayed:
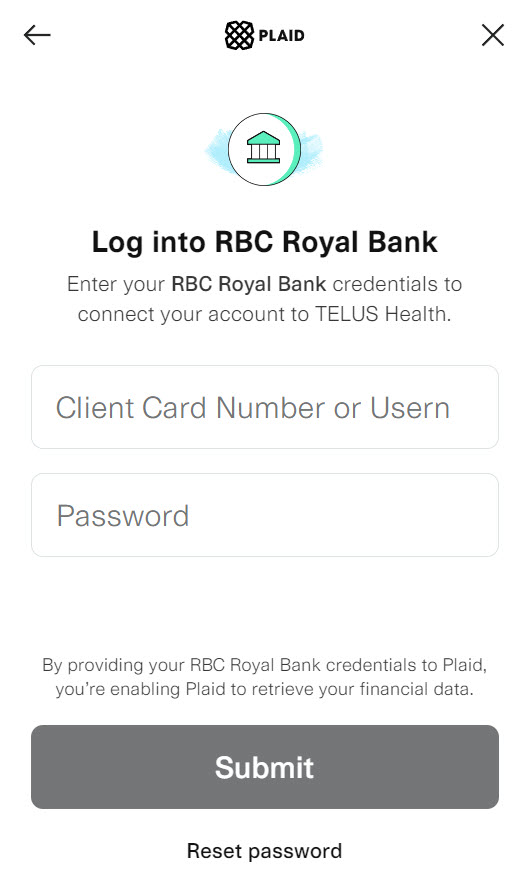
-
Enter the client card number or username and password you use to log in to your financial institution.
The Select account screen is displayed.
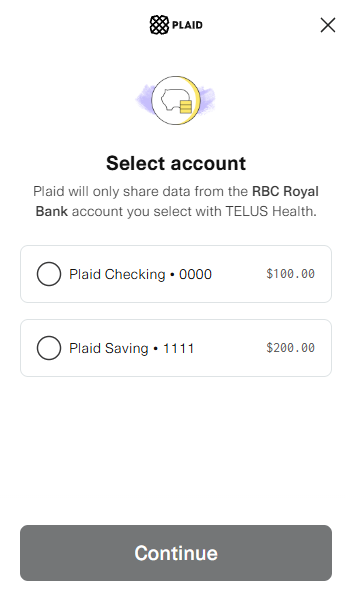
-
Select the appropriate account, then select Continue.
The Success screen is displayed.

-
Select Continue.
The Banking information window is displayed again. If you had already set up one or more bank accounts, the bank account you just added is displayed first.
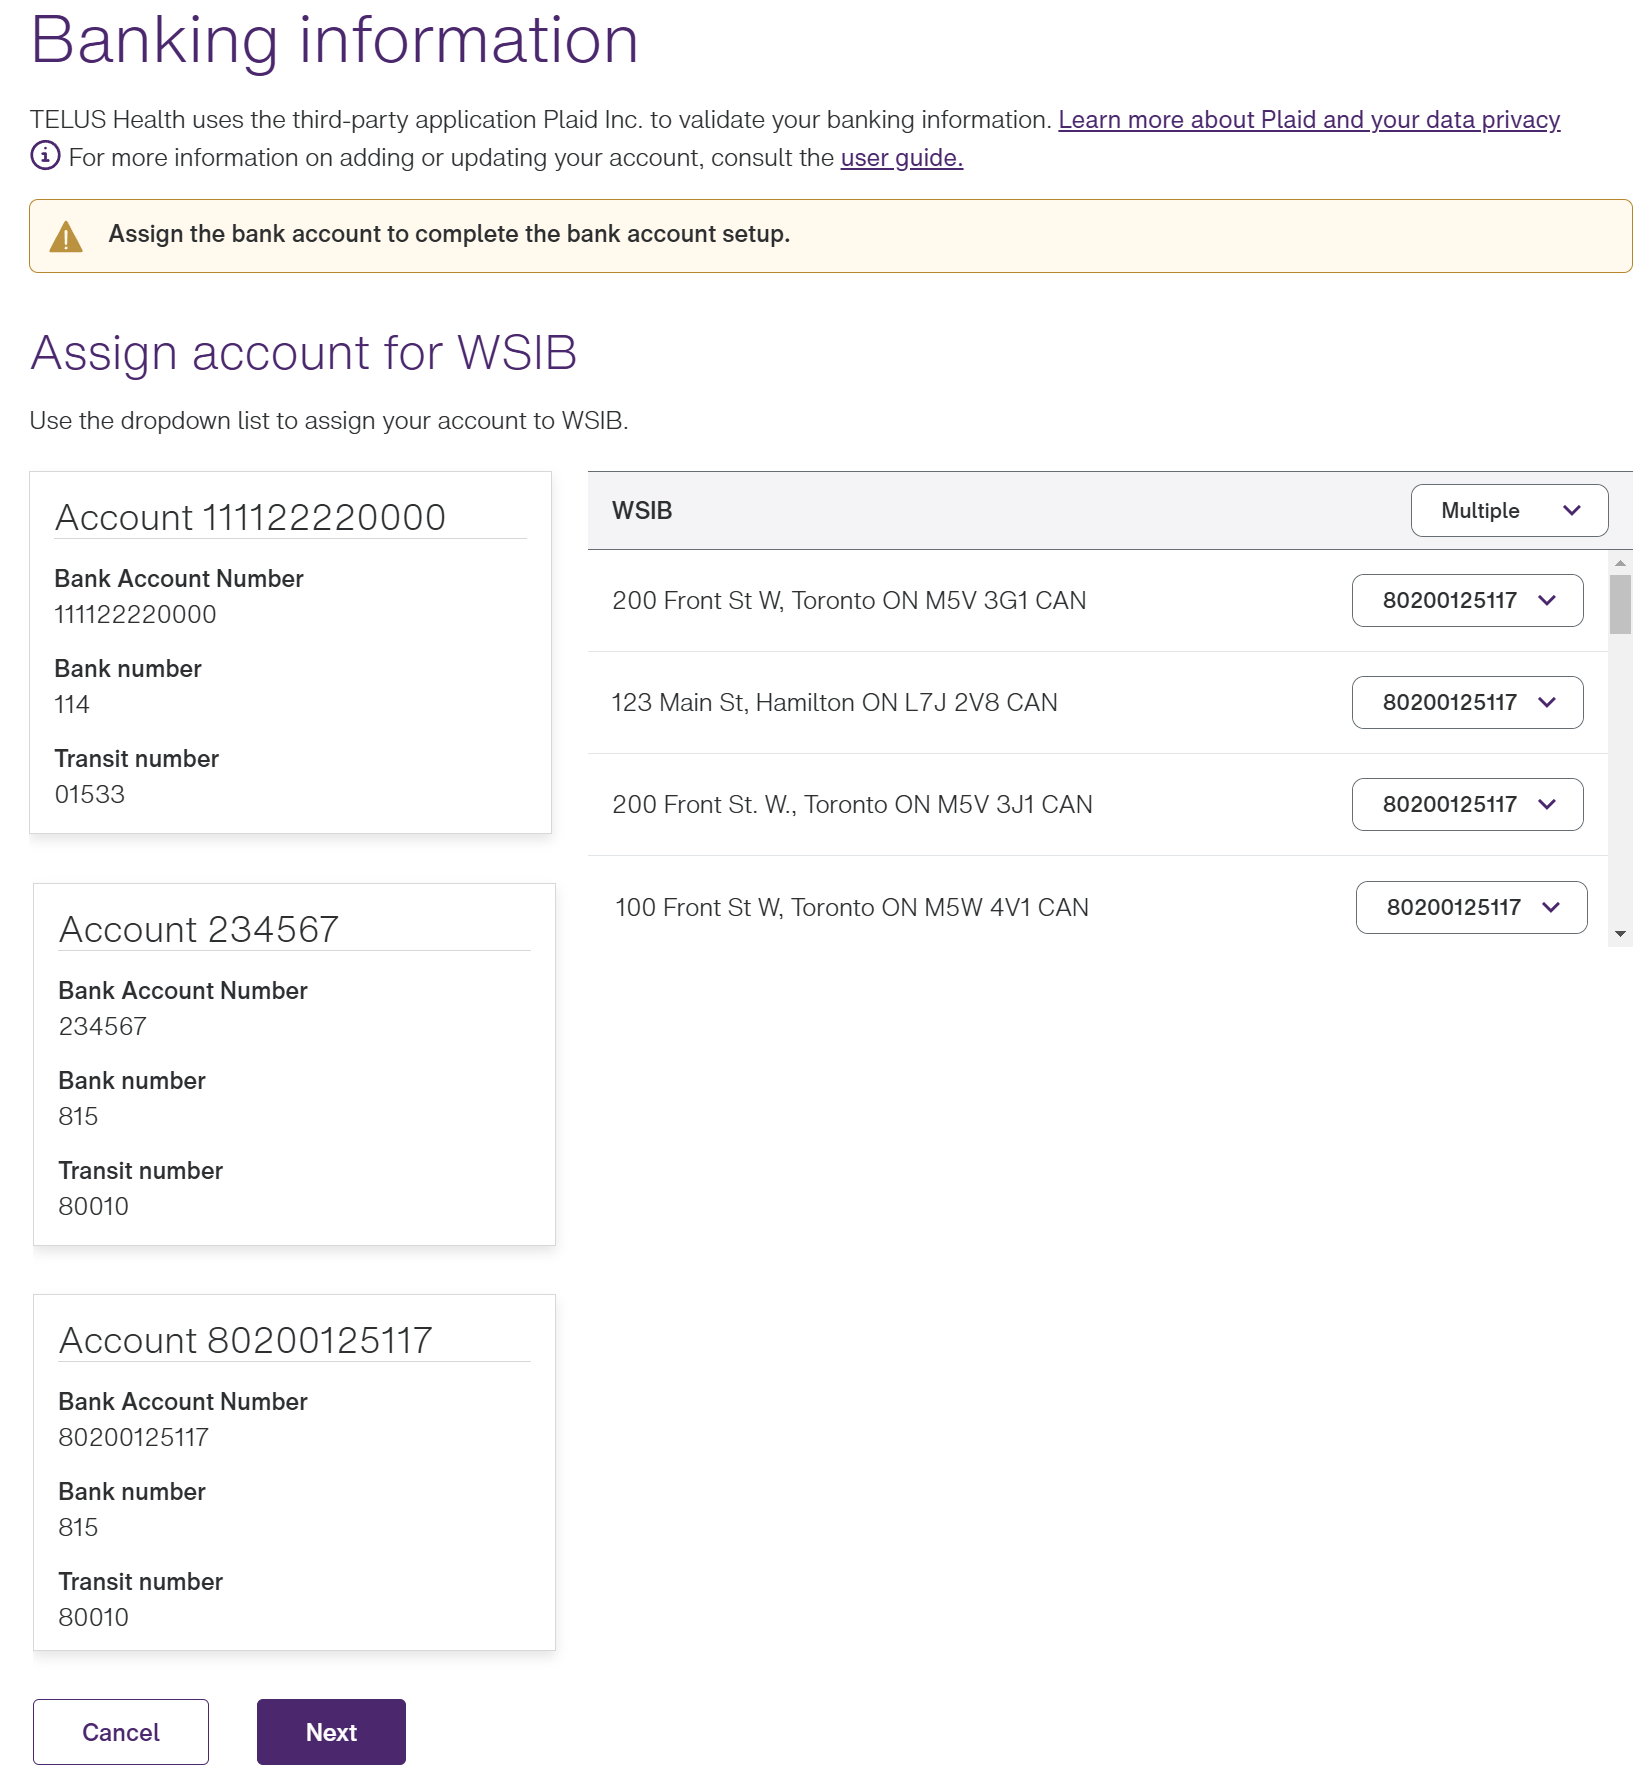
-
If you are registered for the Direct Deposit or WSIB service, you are asked to select the bank account for your Direct Deposit or WSIB locations and providers:
-
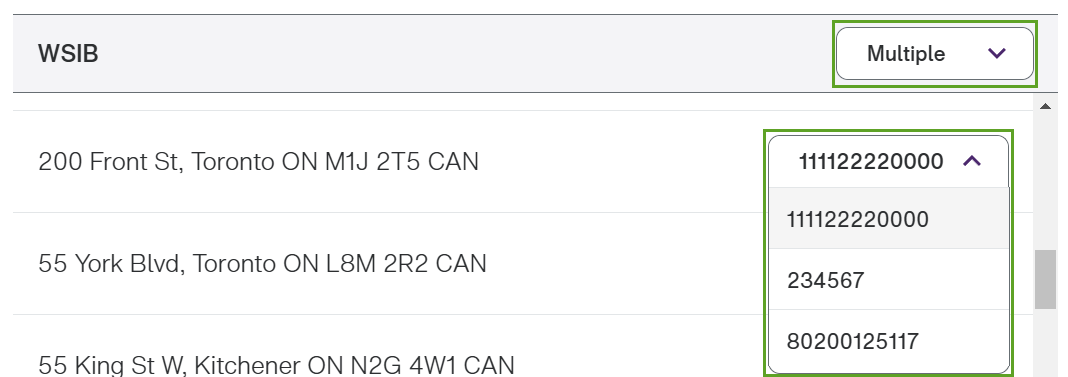
If you are a provider and you have already added at least one account, you can use the drop-down list in the header to select the new bank account for all locations, or use the drop-down list to the right of each location to select the new bank account for that location.
-
If you are a clinic representative and you have already added at least one account, you can use the drop-down list in the header to select the new bank account for all locations.
If you are a clinic representative or provider, and you are adding your first account, a checkbox is displayed in place of the drop-down list, as there is only one account to select. Select this checkbox for each provider that will use this bank account.

-
Select Next.
-
-
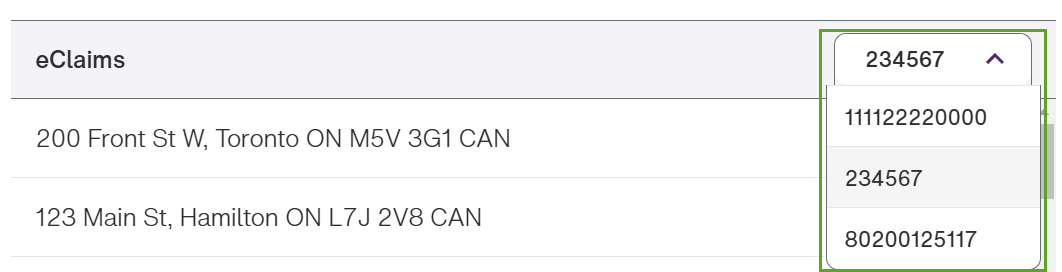
If you are registered for the eClaims service, you must select one bank account for all locations.
-
If you are replacing an account, use the drop-down list in the header to select the new bank account for all locations.
If you are adding your first account, a checkbox is displayed in place of the drop-down list, as there is only one account to select.
-
-
Select Done.
-
If you replaced an account, or if a reassignment you made resulted in an account no longer being used, the following dialog box is displayed.
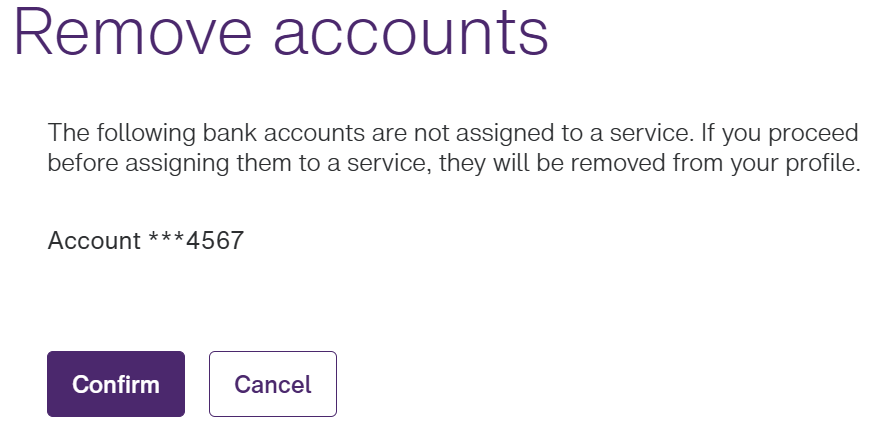
Unassigned accounts cannot be retained in the portal.
-
Select Confirm.
The Banking information window is displayed, with the new account assignments set.
-
If you are a provider registered for the WSIB service, you can modify your account assignments. To do so, select Modify, then redo steps 9-13.